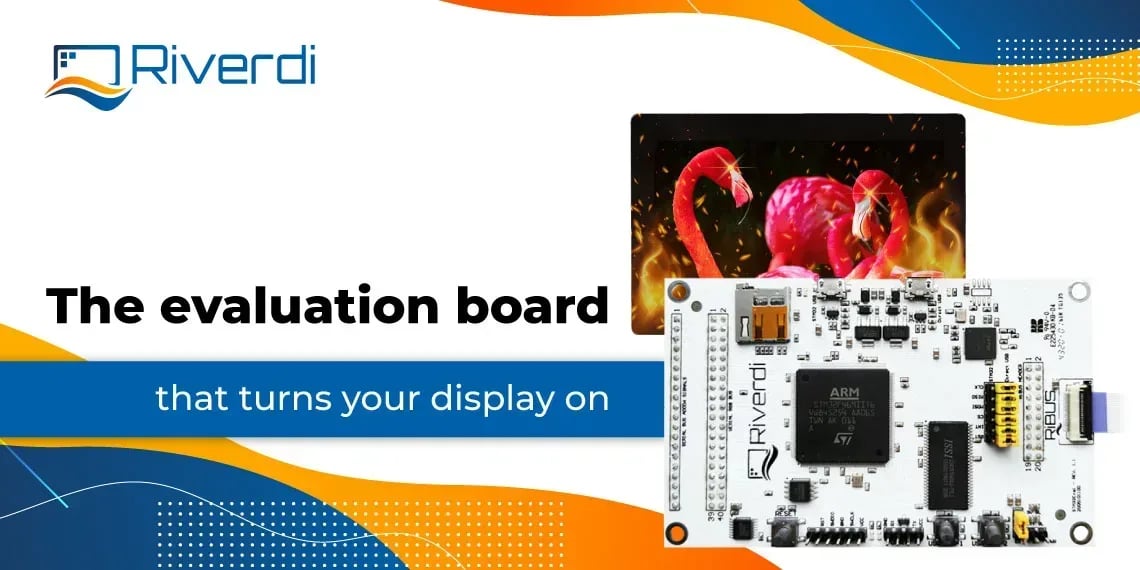
The latest addition to Riverdi’s offer is that staple piece of electronics that cannot be missed by anyone deciding on a new display. This evaluation board is not only ingenious in its simplicity but so essential in the evaluation and development process, it’s almost baffling we didn’t have something like that before.
Well, actually we did have some of that functionality in two separate boards (Hermes and Revelation) before but as we all know three-in-one is way better than having many separate items thrown around the desk, so, without further ado, let us introduce our new, hot STM32 Riverdi Evaluation Board.
What is STM32 Evaluation Board?
The evaluation board is a PCB that can be connected to a display in order to bring it to life and demonstrate its functionality, capability, and application for deployment. When you buy a display, it’s dead, black. You can read all about its advantages on the website: how amazingly bright it is, how you can view it from any angle, how it will work with gloves, when you splash water on it etc., and, while yes, you can choose to believe us, before you commit to buy 5,000 displays, you could decide to get the evaluation board first and see all the wonders for yourself. Then you will probably end up buying 10,000 but that’s another story.
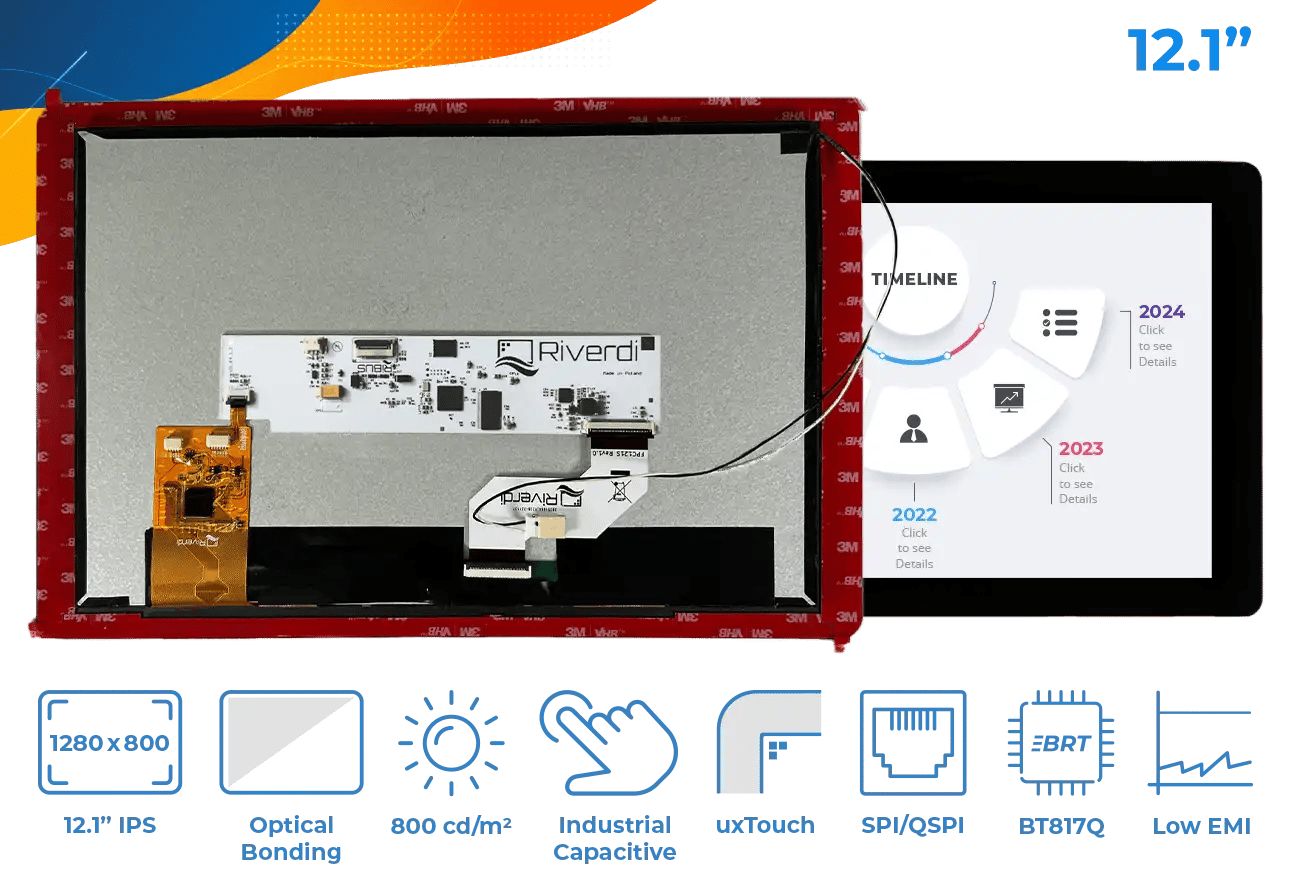
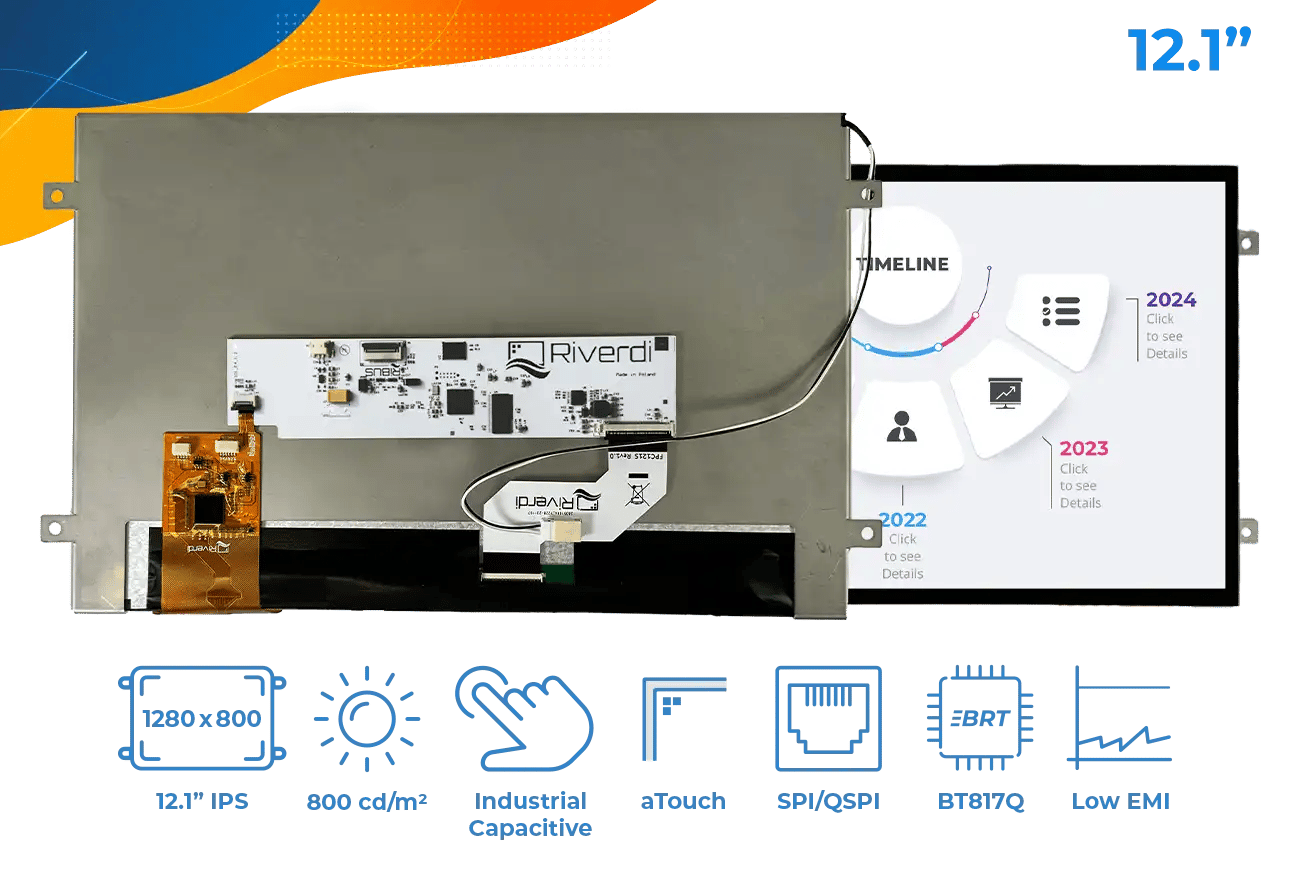
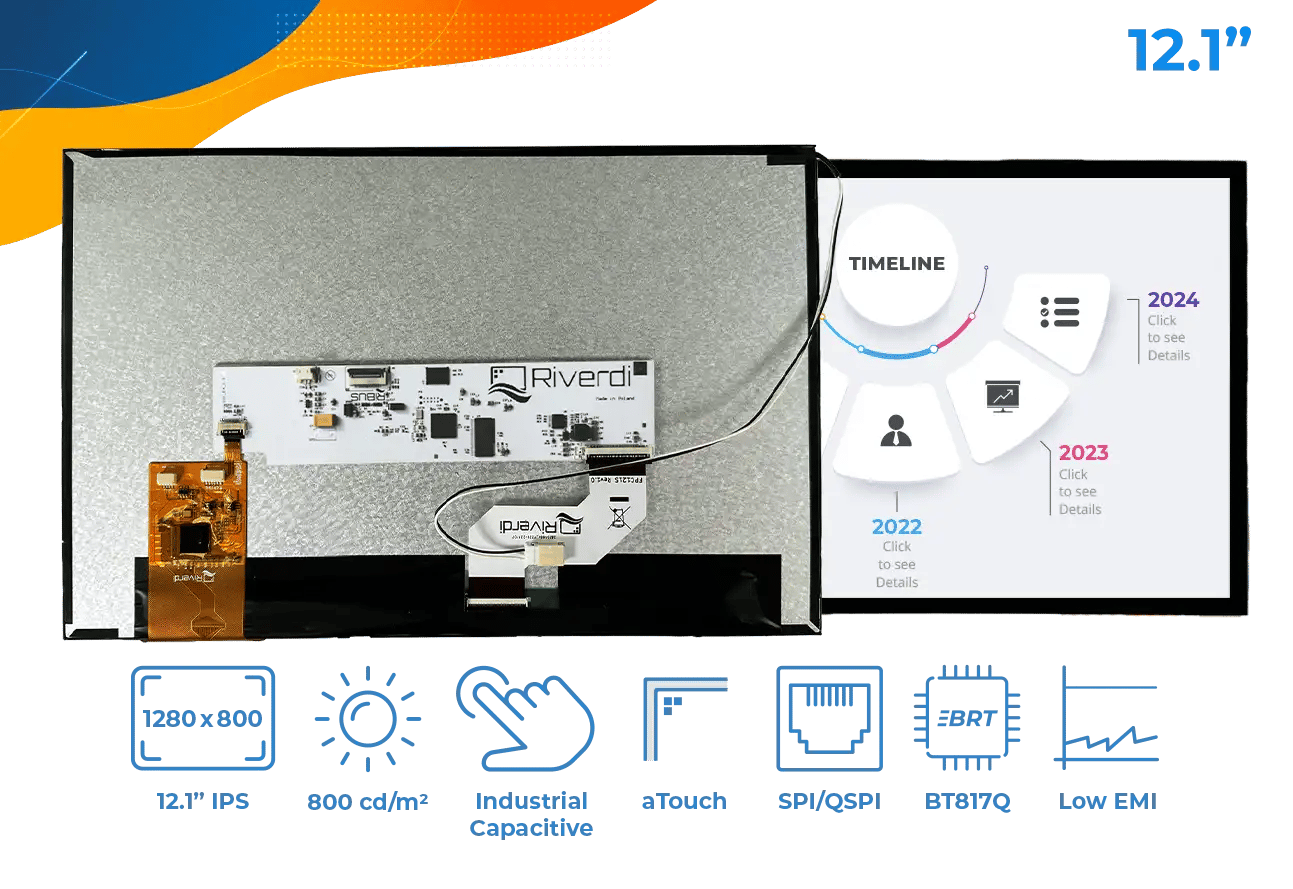
What might also happen is that when you see the display light up in your hands, you might think: “Wait a minute… Maybe this 7” high brightness IPS with a mounting frame isn’t right for my project? Maybe instead I should get a 5” but with an industrial-grade touch panel…” No problem, you can get another model of the display and test it on the same evaluation board; it’s compatible with all new Riverdi displays so once you get it, keep it safe and it will help you choose the right display in many projects to come.
How is it done?
STM32 is a very powerful microcontroller and we have taken the full advantage of it. The displays can be connected via the RGB interface directly to the STM32 (natively) and use the TFT display controller built into it. As a result, we can connect all RGB displays ranging from 3.5” to 7” directly.
In addition, we also introduced the RiBUS interface on the board – the 20-pin ZIF connector for the FPC or FFC tape that allows you to connect this board directly to EVE4 displays; ranging from 3.5″ to 10.1″. The entire EVE4 series is compatible in terms of connectors so if you want to use an EVE4 display before creating your own PCB to control it, the evaluation board will make it work right away. What’s more, your developer can start writing the code right then. Even if you use a different controller, it is usually quite easily moveable because we use Bridgetek’s libraries. Thanks to this, programmers and hardware specialists can start programming and designing the board from day one. How’s that for time efficiency!

STM32 Evaluation Board allows you to work with the display in three modes:
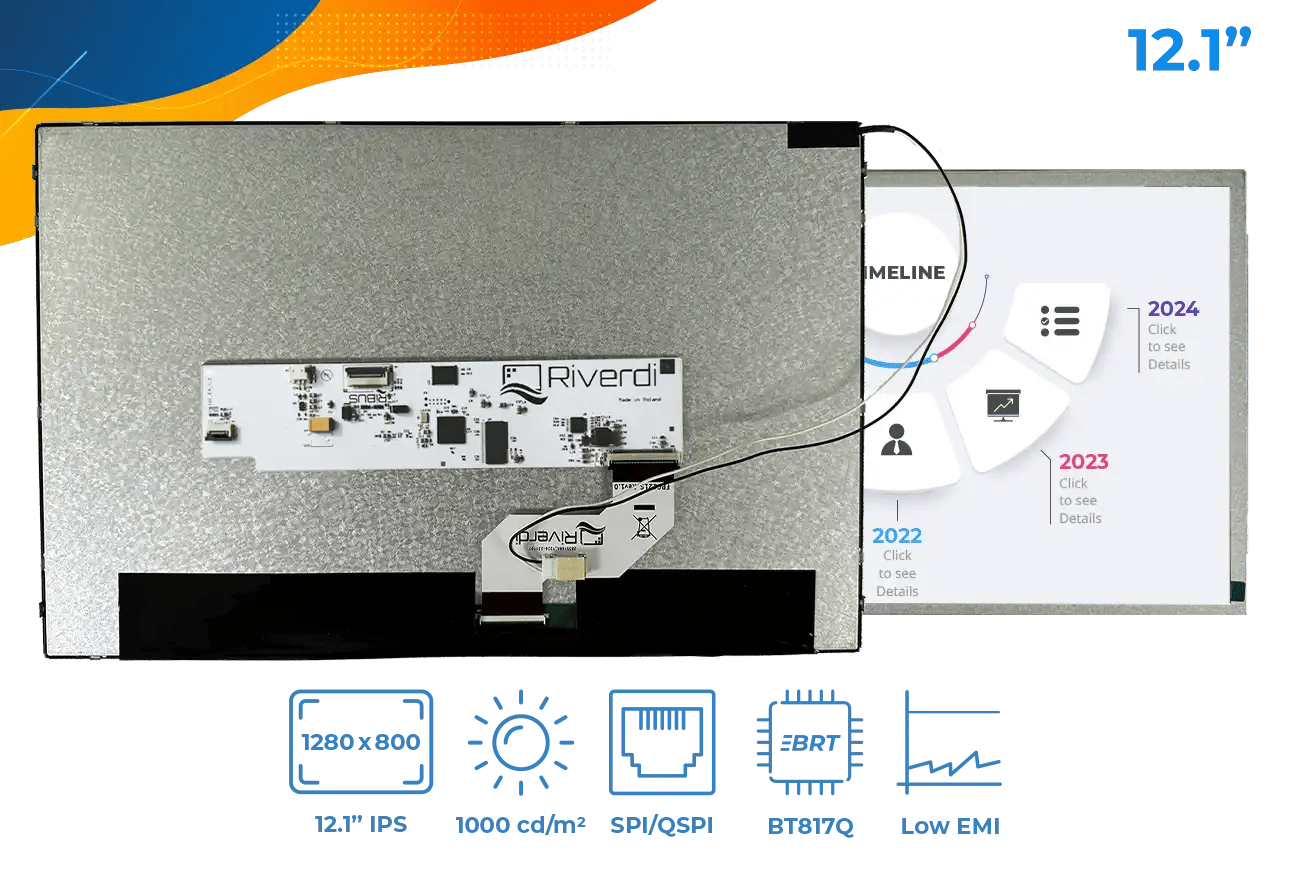
- From STM32F469 via RiBUS (SPI) to BT817Q/EVE4 displays
- From USB via FT232H bridge to RiBUS (SPI) and then to BT817Q/EVE4 displays
- From STM32F469 LTDC TFT controller to RGB displays and to LVDS&DSI displays with serializer
1. The first option is through SPI and RiBUS to EVE4:
This way we do not have to create more boards for other series, STM32 is strong and can work with SPI on EVE4 displays to RiBUS.

2. The second option is also through SPI and RiBUS but not from the MCU but directly from the computer. On the evaluation board there are two USB connectors – one to connect to STM32 and power the board (it does not have to be used, so in normal mode we do not connect this USB to the computer only to the power supply), and the second USB connector which also powers the board, but most of all, allows direct connection to RiBUS. Just move the jumpers and then cut off the main STM32 controller from the RiBUS and connect it with an adapter made on FT232 that is on the evaluation board. By doing so, we connect our EVE4 display directly through RiBUS/SPI with a PC through USB. STM32 is irrelevant in this case, it is disconnected, but we write applications directly on PC. This gives us a very quick start. So apart from the fact that the board works on STM32, there are programmers who prefer to write code for EVE4 on the PC first because it lets you compile very quickly and send data directly from the computer to the display bypassing any processors. We also have huge resources on the PC side that we can work with: we can attach pictures without uploading them, for example, to an SD card. The possibilities of testing the display are much greater.

3. And the third option – native RGB interface where we use the RGB display controller built into the processor – you can use, for example, TouchGFX graphics library, similar to QT for Linux, it is something that allows you to easily create graphic applications. This is an option with a large processor and a lot of power where you can create fantastic graphics applications via TouchGFX.

The idea behind the evaluation board
The whole idea is to shorten time to market. The first step in progressing with your project is a functioning display; it makes life easier for designers and decision makers. When you get a display, you have to spend time and energy before it starts working. However, with the evaluation board, you can present it immediately and think what can be done with it, compare it to the old solution, assess its quality, the angle of observation, play with the panel, display some graphics (because our eval board also has a microSD card connector and the software that has been prepared allows you to easily upload pictures on a computer to an SD card. Just like on a flash drive, there are folders with appropriate sizes, e.g. 3.5 etc., you put pictures in the appropriate folder and then these pictures are displayed periodically on the display.), etc. If you are the manufacturer of a device, your graphic designers can make an interface that does not work yet but it can be ready graphically. The eval board will show it and you can go to the marketing or product team and show them what your new device will look like, what the menu will look like etc. This is a very big boost. You no longer need to be an engineer to change the content on the display – this used to be very difficult before but now, even a sales representative at a meeting can change the content displayed. With the evaluation board, it is super easy to present the displays.
Don Addon
In addition, we have created add-on boards where you can just plug in the evaluation board and the display, and there it is, all ready, connected and functioning. It can be purchased separately, you decide what to connect to it and download the relevant codes from GitHub.
If you want to see an EVE4 display functioning, all you need is the EVE4 display and the evaluation board. But, if you want an RGB display to turn on, you need one more piece in–between – that’s where Don Addon comes in. It becomes a set of three: Don Addon, STM32 Riverdi Evaluation Board and an RGB display. The add-on boards come customized to the size and interface of the display so while the evaluation board serves all types and sizes of the display, the add-on board must be chosen according to the display’s size and interface so Don Addon 7 RGB is meant for all 7” RGB displays.
The board comes with velcro so you can attach the display to it yourself and then exchange them as necessary. At any moment, the display can be detached and used in a project.