- What is EVE4?
- Designing Modern Devices with Displays
- Why EVE4 is so efficient?
- Riverdi’s EVE4 Design and Quality
- What are EVE4 industrial grade features?
- How does the EVE4 graphic controller work?
- Memory
- Audio
- Low EMI
- No MOQ
- Preprogramming
- Customization
- How to connect the EVE4 display?
- How to test it?
- Breakout Board
- Arduino
- Speakers
- Summary
In this article we will be talking about something very special in the Riverdi offer, EVE4 Embedded Video Engine displays.
What is EVE4?
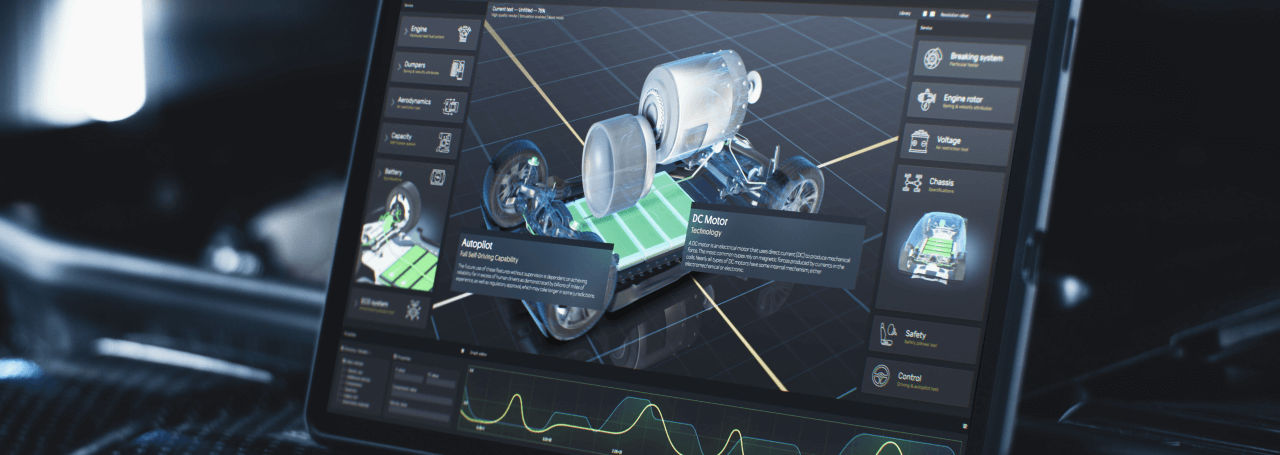
EVE4 (Embedded Video Engine 4) displays are intelligent modules that let you build sophisticated graphical interfaces with just a simple microcontroller. Thanks to on-board graphic processing, creating dynamic visuals – such as animations or movies – is effortless. Let’s explore why these displays are so useful and how to use them efficiently.

Designing Modern Devices with Displays
When building a device, your choice of microcontroller depends on available resources. Microcontrollers are often sufficient for general control tasks, but generating graphics – especially for high-resolution, capacitive touchscreen displays, is resource-intensive. Usually, you’d need a powerful MCU and dedicated memory. For example, a vending machine JavaScript: You need only basic logic, but still require a polished display interface. That’s where EVE4 comes in.
Why EVE4 is so efficient?
EVE4 displays include an integrated graphic controller and local flash memory. You simply send commands over SPI or QSPI to render content – the heavy lifting is offloaded to the display itself. This setup works seamlessly even with 8-bit MCUs or basic 32-bit Cortex-M0 systems.
Riverdi’s EVE4 Design and Quality
Let’s focus on how we have created this EVE4 series in Riverdi. First of all, there is the Riverdi High Brightness IPS TFT line. This TFT line of displays is a base for all Riverdi projects. The other display lines depend on kind of controller you plan to use. They can be equipped with HDMI, EVE4 or STM32 microcontroller. It could also be a bare display with RGB or LVDS interface.
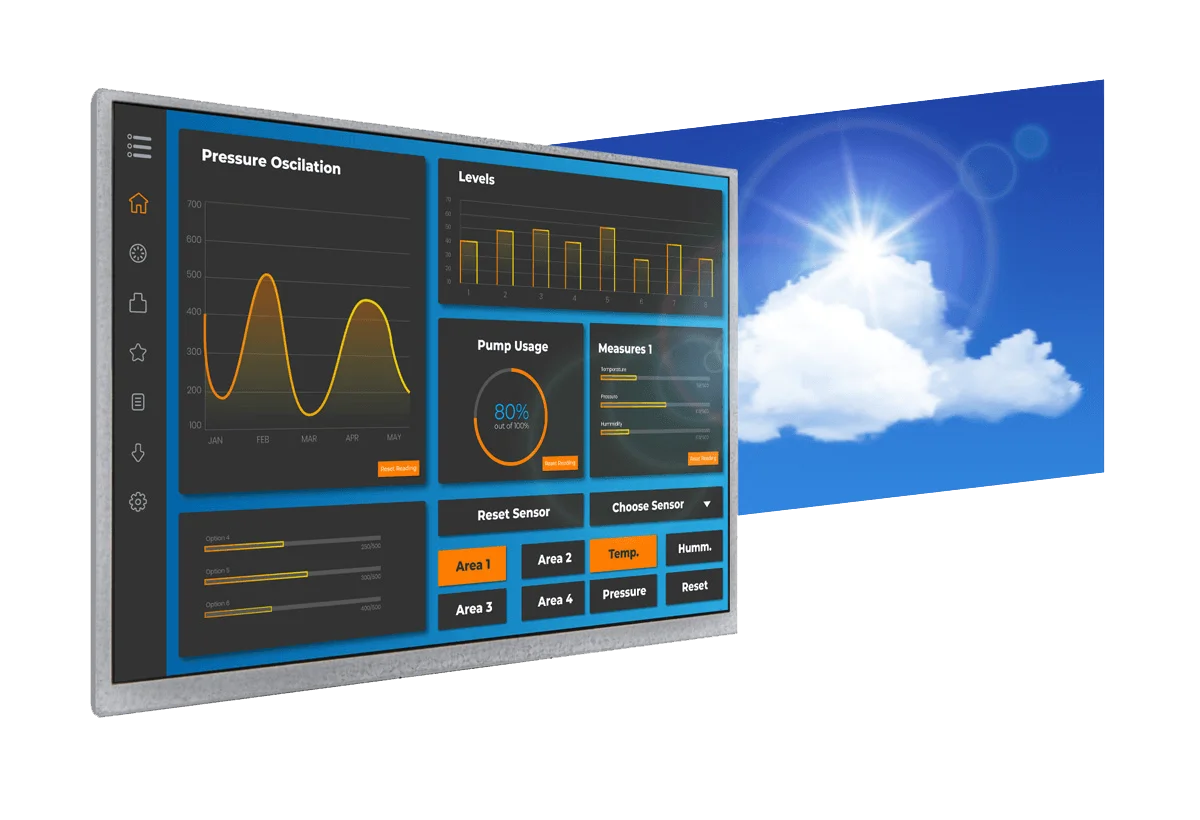
As a core for all our projects, we choose the high quality IPS TFT glass. Then we construct a high-brightness backlight of 1000 candelas, so you can use them indoor and outdoor. You can check out this feature in our video on the Riverdi YouTube channel. We design all our displays with a low EMI. In all Riverdi projects we care about low EMI.


What are EVE4 industrial grade features?
We have excellent displays with beautiful colors, viewing angles and high brightness. What else? All of our displays are industrial grade. They can be used for industrial, medical or military purposes. Having a display with low EMI and high quality design we can add an industrial touch screen. We use ILITEC as our primary controller for all our standard displays. It is an industrial-grade controller with a robust design and easy way to go for more demanding applications. It is also equipped with industrial design of the touch screen. That means those displays work well in an industrial environment, like a factory. If you need a thicker glass for outdoors, you can apply it as well. So, how does it work? You can buy a standard display from Riverdi offer with a standard cover glass 1.1 mm and do the development tests. If needed, come back and ask for a thicker glass and voila!
How does the EVE4 graphic controller work?
Now let’s focus now on the graphic controller itself. We have placed on the EVE4 board a Bridgetek EVE controller. It is Embedded Video Engine generation 4, the latest one from Bridgetek. It supports high resolution displays. This means we were able to build an entire line from 3.5 inch, from low resolution to high resolution 10.1-inch, which is 1280 by 800 pixels. And the whole line is supported by the same chip. This means that the whole line is compatible with all our standard displays. It is a very powerful graphic controller. It can be communicated with SPI and QSPI, both are fast interfaces to send data. But normally, when you operate the display, you do not need to send anything except the commands. So once you have uploaded data to the flash memory on the screen, , you just need to send the commands what to show on the screen and you receive the touch events from the controller.
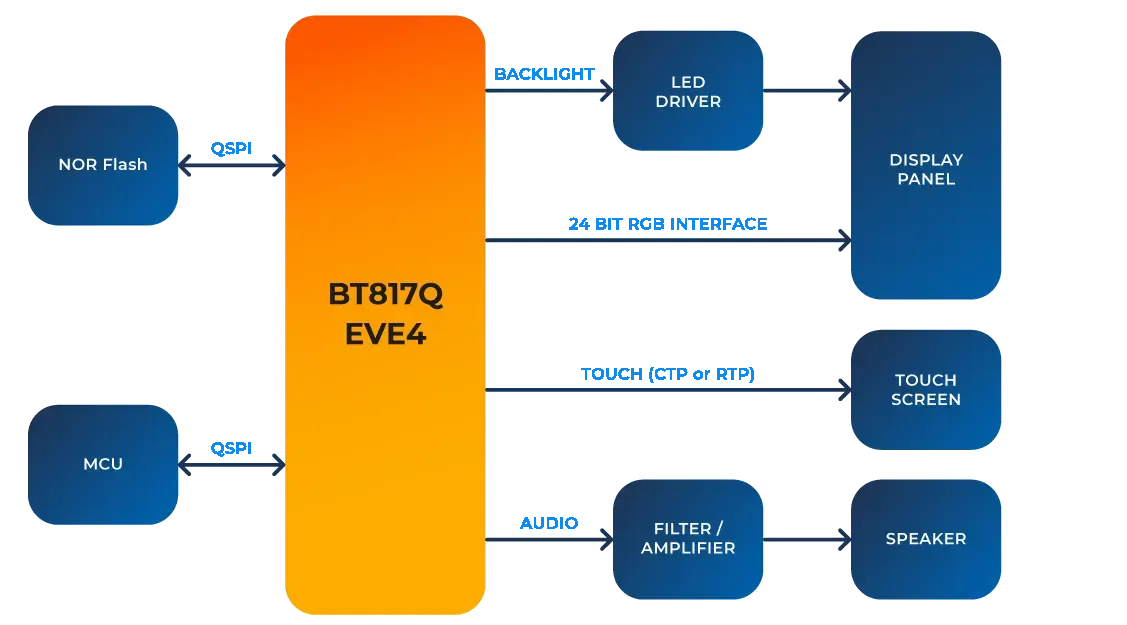
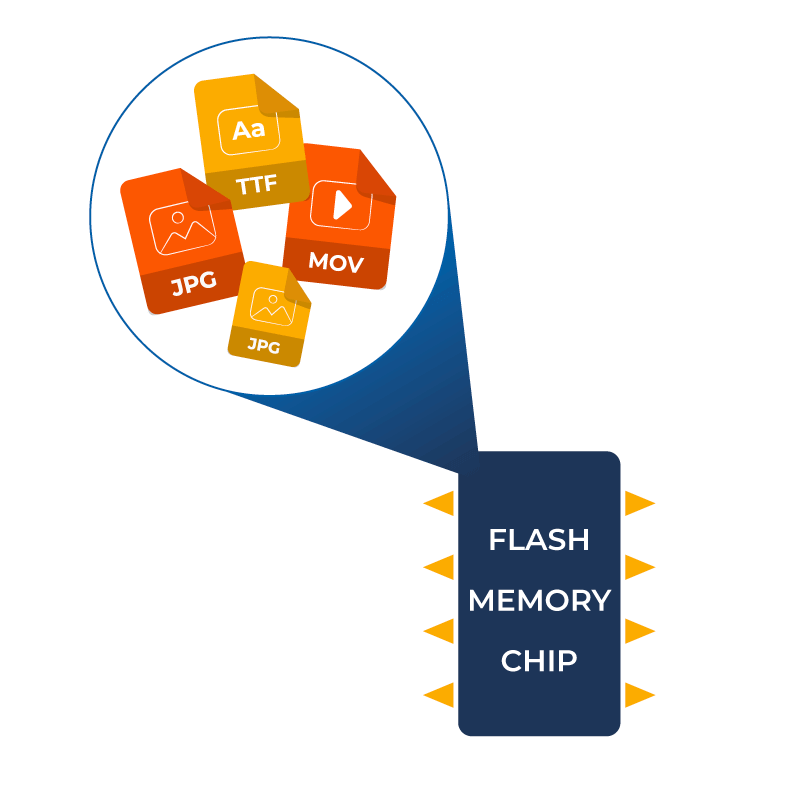
Let’s have a look inside the controller. In the picture is a schematic diagram of the Bridgetek BT817Q controller in Riverdi EV4 displays. There are two QSPIs, because one QSPI is for the flash memory that is on the screen, and the other SPI or QSPI is for the MCU – for the user. You can use the SPI and QSPI to control the display and send the commands. All the hardware is already on the screen. We have a LED driver with the PMW signal from Bridgetek, so we send commands to Bridgetek through SPI, that for example change the brightness. The Bridgetek has an RGB interface, but we also have displays that have the LVDS interface, so we can connect the serializer on the board directly. The Bridgetek controller controls also the touch screen, so we have the I2C interface for the touch screen. Next, we have the audio amplifier on our board, so you can generate audio. What is also important about this controller is that it uses ASTC graphic compression, which is very effective Using it you can upload a lot of content into the flash memory. That could be a video and images. There is a tool from Bridgetek to generate the files and upload them into the flash memory.
Memory
Speaking about the memory, we have it on board and it can be 512 Mb for the larger screens and 256 Mb for the smaller ones. So, 3.5-inch and 4.3-inch have a small memory and then from a 5-inch up to 10.1-inch we have 512 Mb. On our website there are example calculations of how many images or video content you can upload. In most cases those memory options are enough. If you need more memory, then of course you can contact us and we will solder the bigger memory for your application. In case you need, for example, to play longer videos.

Audio
We have also placed the amplifier on the board, so you can generate the audio. And the Bridgetek is controlling the graphic and the touch screen, but it also generates audio. We have created the audio circuit a little bit differently than the standard, that is a bi-directional, so you have one pin on the connector of EVE4 displays, that you can also play the audio from your system to the display and use the internal amplifier, so you have two ways to play audio. One way is used to generate it from the Bridgetek itself and in the other you can generate it from a file. It can be music or your own files. It can be preprogramed and generated audio from the Bridgetek. You have quite a wide selection of different audio sounds available. You can also connect your own audio system and from your own host system generate additional audio effects, if necessary.


Low EMI
Beside the low EMI of TFT display, we also designed the low EMI of board itself. All our boards are designed to pass our customer certifications. You can see the results in the picture above. This is the result for 10.1-inch EVE4. It is emission from a display touch and the board together. It is pretty impressive, as it’s very low. That means the display emission should not be an issue in your project. EMI needs to be tested as an entire device, once you connect your own system to it. but now you know what you can expect from our display and controller. Those reports are available for free from our website. You download all the documentation, 3D models of the displays and the EMI reports.
No MOQ
Now, let us go a little bit deeper into the subject. The EVE4 series includes 3.4-inch, 4.3-inch 5.0-inch, 7.0-inch and 10.1-inch displays. All of them are available at Riverdi in all the options. You can choose different touch screens, mounting frames, bonding or without bonding. You can buy all the options without any MOQ, directly from our website or from our distributors. You can count on fast shipment. All are prepared and ready to use.
Preprogramming
Maximum parameters of the BT817Q controller are pretty impressive. It’s fast and supports high resolution. We also have a dedicated fast programing interface for building flash. That means you can program flash memory by yourself, or we can program it for you. Later, when you build your device in series, you don’t need to spend time to program the flash. We can do it for you. That could be multimedia content, images and video. Of course, memory can be programed in a regular way, using the SPI or QSPI interface from the host. It can be also changed later, even during the device’s work. So your host is always able to reprogram the flash memory, if necessary. But in many cases, it is done just once during manufacturing the screen of the device. We can do it for you, and make your time on production even faster and deliver to you the displays preprogramed, if necessary.
Customization
As we have said, the EVE4 displays are available in different versions of sizes, frames and bonding. All that with no MOQ, so if you need, then you can buy even one piece. You can also customize the displays in various ways. That means you can easily change the logo or the glass thickness. For example, for outdoor, vandal-proof products we typically make a 4-millimeter or 6-millimeter glass for the customers. But we can change the glass shape, printing color and anything else that may be required for your product.

How to connect the EVE4 display?
Now, enough of the theory. Let us focus now on the practical side of EVE4 displays. So, once you buy a EVE4 display, you will receive it with the controller board and a Ribus connector. The Ribus connector is a Riverdi Universal Connector, used in all of our intelligent display series. It is always the same pinout and it can be easily connected to different displays from our EVE4 series. It can even be connected to the STM32 embedded displays to have a second display. This connector is universal for Riverdi products. You can connect the devices with Ribus and power the screens with it. Then we have the power for the backlight, the SPI and QSPI interfaces and the audio pin for the audio amplifier.
How to test it?
Once you buy this display, you will probably want to test it. There are many ways to do that. The first and the easiest way would be to buy the Riverdi evaluation board. It is based on the STM32F4 microcontroller and allows you to start programing in a very user-friendly way. You need to download the software from Riverdi GitHub, upload it to the microcontroller, start the demo application right away and test your own display, including graphics that you can place on the SD card. You can generate your own graphics, like menu on screen and put it on the SD card to show it on display. The evaluation board also has the Ribus connector, so you just need to connect it to the display and that’s about it. With the evaluation board, you can use a microcontroller to control the EVE4 screens, but you can also configure the short and use the USB to SPI bridge, which is an FTDI bridge. Then you can work entirely with the PC and control the display via this USB to SPI bridge. You can also configure the short to have an SPI, so you can connect the pins directly to your own board.


Breakout Board
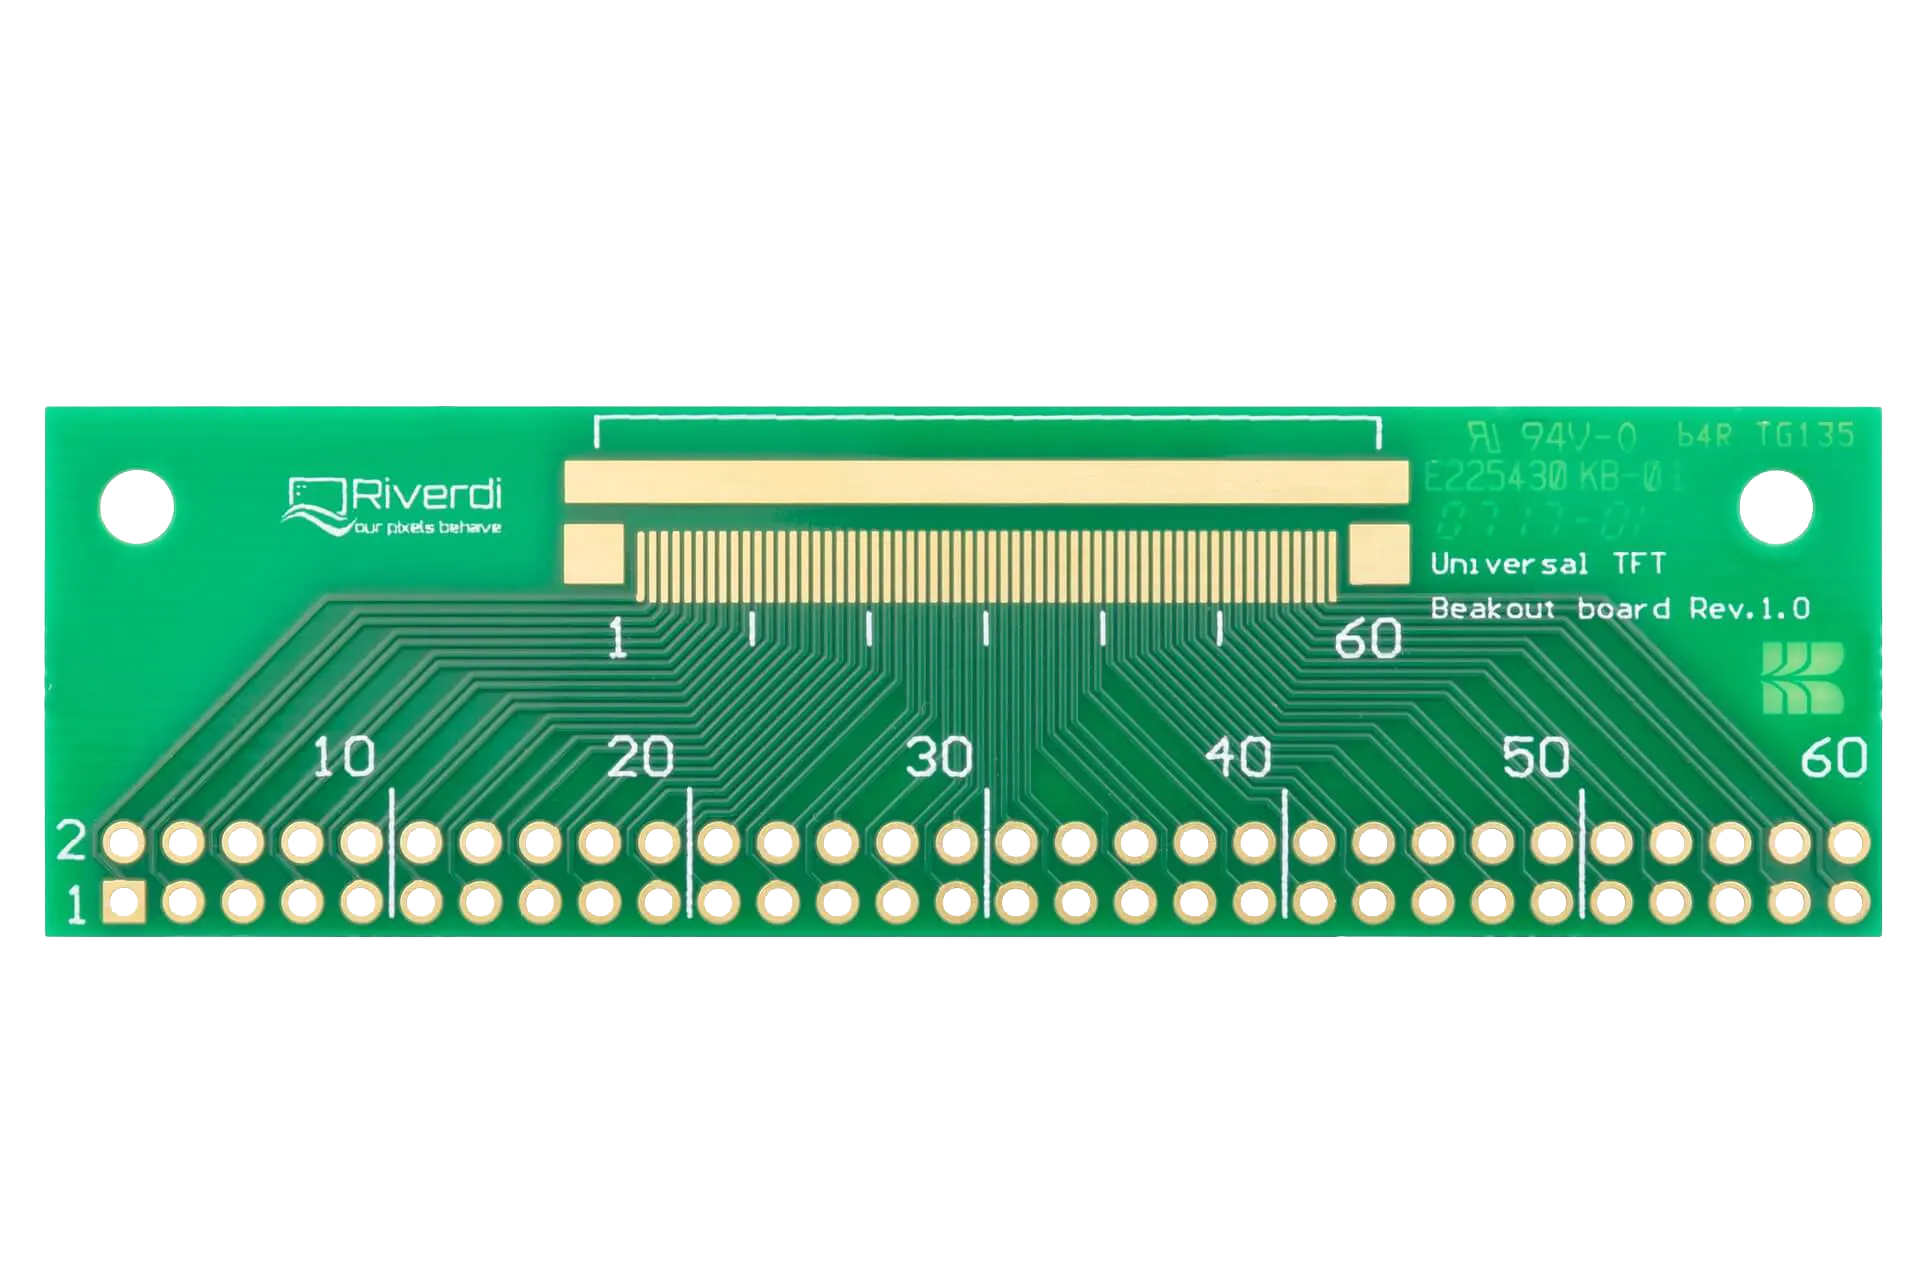
If you know that you want to connect the display directly to your own system, you can buy a Breakout Board. The Breakout Board is a very simple board that has a 20-pin IDC connector to the 20-pin ZIF connector. That means you can connect it directly to the screen with the FPC. Of course, FFC is also available to buy on the Riverdi website and then you have easy access to all the pins, and you can connect it with the cables to your system.
Arduino
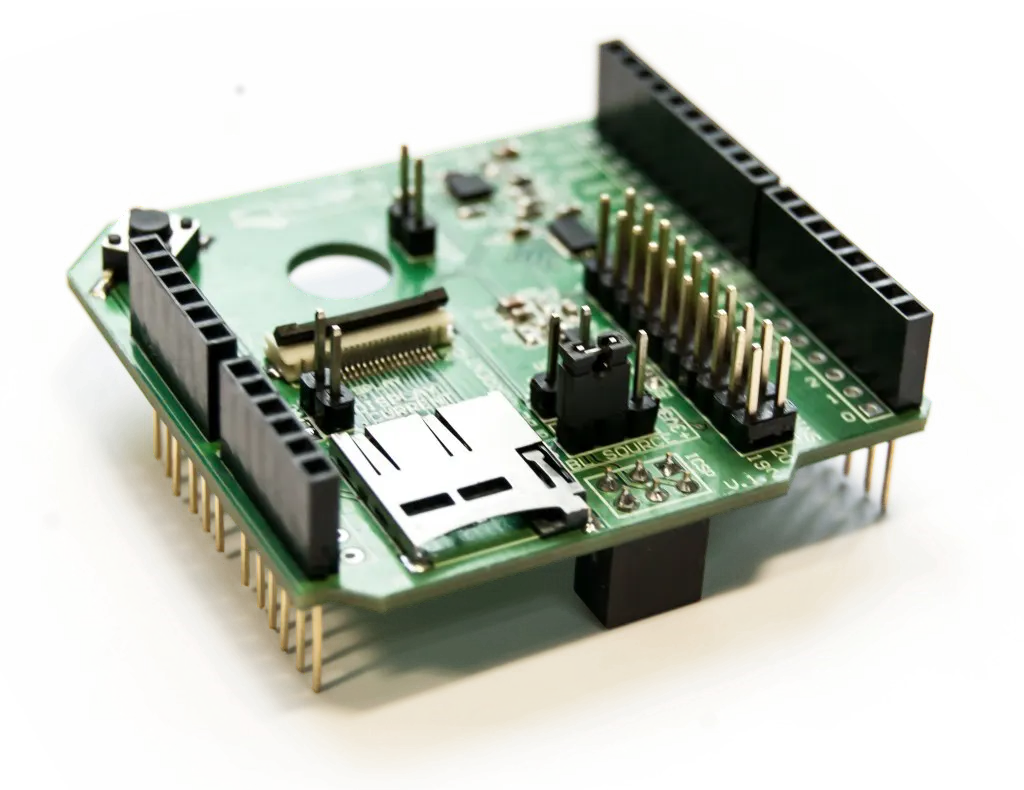
The next accessory that we have for the EVE4 series displays is Arduino shield. You can put it on the Arduino and then you have the Ribus again with the SPI and you can connect it to any Arduino compatible board. Also, if you have the SD card connector, which is typical for many Arduino shields, this accessories will allow you to quick start your own programing and development.


Speakers
The last thing from accessories you can buy from our website are the speakers. The speakers are equipped with a cable and connector. So, you can very easily connect them to the screen to play some audio. There is a sticker on the speaker, so you can stick it to the display or somewhere in your device, if necessary.
Summary
Now you known how to connect the display and how it is used and how easy it is to connect it to your own system. You can go to our website and see our products. They are all very well documented. Not only datasheets are available, but also very detailed drawings, 3D models of all our displays. We try to make it super easy for you to embed those files in your design process. There you will find the EMI report as well. All of our displays are industrial grade, which means we guarantee longevity. And no MOQ, so you can buy as low quantity as you want. What is also very important, all of those displays are compatible with each other. So, for example, once you build your system using a 7-inch screen, you may want to use a smaller or bigger screen in different versions of your machine. You will be able to do that without any problems, since all Riverdi screens have the same Ribus connector, the same protocols and pinout. So it will be easy to connect a different display size to your system. Last but not least, if you have an old version of your device with an old type of display, like a character display, you can easily upgrade it to the color display. We had done projects like that. You can buy our intelligent display, connect it with the Breakout Board or your own board to the system with the old microcontroller, and just add code to generate beautiful and sophisticated graphics. And then you can create a new version of a device without changing the entire system inside. With Riverdi EVE4 displays you can create something very, very special!
Go to our website to see all the product documentation. You can buy displays directly or from the distributor sites. We have a wide network of distributors where you can easily buy the displays from stock.
DISCOVER OUR
Whitepaper
Achieve the perfect user-display interaction with the right Touch Sensor IC. Ever faced issues with phantom touch events or certification? Boost your R&D like a pro with our Whitepaper!

