Riverdi 5-inch HDMI display, which due to the non-standard screen resolution (800×480) on some operating systems, may require additional software configuration. Below is a brief tutorial.
The Riverdi 5-inch HDMI display works properly when the user ensures that the image sent to the HDMI connector has a resolution of 800×480 – if the operating system does not do this automatically, it is up to the system user to manually configure the system and “force” this resolution.
The Riverdi 5-inch HDMI display is built based on the TFP401 chip, which means that in order for the screen to work properly, it is necessary to provide the HDMI output with a signal with a resolution that exactly matches the parameters of the display – the TFP401 chip does not provide automatic resolution scaling, so if the operating system “projects” a different resolution on the HDMI connector, the screen may work incorrectly (black screen, stripes, artifacts or an image displayed on part of the screen).

Figure 1. Display with wrong resolution.
The HDMI display has the image parameters it expects (i.e., 800×480 resolution) loaded into memory, but if the operating system (actually the graphics driver) is unable to provide such conditions, the screen may malfunction. For example, in Windows running on AMD graphics, the graphics driver by default does not have settings for 800×480 resolution, so these settings have to be “forced”. In this case, the AMD driver puts out a resolution of 640×480, and the image is not displayed on the entire screen. As for other drivers on Windows, it seems that NVIDIA handles “automatically” the delivery of an 800×480 resolution image, without the need for additional changes (tested on several other Windows computers).
On the Linux operating system (the system where the error originally occurred), the resolution required by the display, is usually not available by default (tested on a Linux systeme laptop and a Raspberry Pi computer). So in order for the display to work properly, you need to add the 800×480 resolution mode and then “force it” on the selected HDMI output.
Here’s a quick tutorial on how to do it (it refers to the Raspberry Pi, but the xrandr tool, is available on all Linux systems, so the same steps – with different HDMI port names – can be done on other Linux platforms (including, for example, the Jetson Nano).
[1]
After logging into the system’s console (e.g., via an SSH connection), using the xrandr tool, check the available HDMI ports and the names assigned from them:
riverdi@riverdi:~ $ DISPLAY=:0 xrandr
Screen 0: minimum 320 x 200, current 1024 x 768, maximum 7680 x 7680
HDMI-1 disconnected primary (normal left inverted right x axis y axis)
HDMI-2 disconnected (normal left inverted right x axis y axis)
[2]
The xrandr command displayed two available HDMI connectors named HDMI-1 and HDMI-2, respectively – the Riverdi HDMI display has not yet been connected to these connectors. Once the display is connected, the xrandr command can be executed again:
riverdi@riverdi:~ $ DISPLAY=:0 xrandr
Screen 0: minimum 320 x 200, current 1024 x 768, maximum 7680 x 7680
HDMI-1 disconnected primary (normal left inverted right x axis y axis)
HDMI-2 connected (normal left inverted right x axis y axis)
1368×768 59.88
1280×800 59.81
1280×720 59.86
1024×768 60.00
1024×576 59.90
960×540 59.63
800×600 60.32
800×450 59.82
700×450 59.88
640×480 59.94
684×384 59.88 59.85
640×400 59.88 59.98
640×360 59.86 59.83
512×384 60.00
512×288 60.00 59.92
480×270 59.63 59.82
400×300 60.32
320×240 60.05
[3]
As you can see above, a display has been connected to the HDMI-2 port, but the list of supported resolutions does not include 800×480 resolution, which leaves the display screen black (no picture). Thus, the 800×480 resolution should be “rigidly” added by calling the command:
DISPLAY=:0 xrandr –newmode “800x480_60.00” 29.58 800 816 896 992 480 481 484 497 -HSync +Vsync
[4]
Now, using the next two commands, we respectively add the created mode “800x480_60.00” to the HDMI-2 output, and then select it as the valid one:
DISPLAY=:0 xrandr –addmode HDMI-2 “800x480_60.00”
DISPLAY=:0 xrandr –output HDMI-2 –mode “800x480_60.00”
[5]
On the display we already have a correctly displayed image. After a reboot, the system may need to be reconfigured, but this one already depends on the parameters of the system distribution you have, so on the topic of “save configuration”
Please refer to Google:
https://www.google.com/search?channel=fs&q=xrandr+mode+save
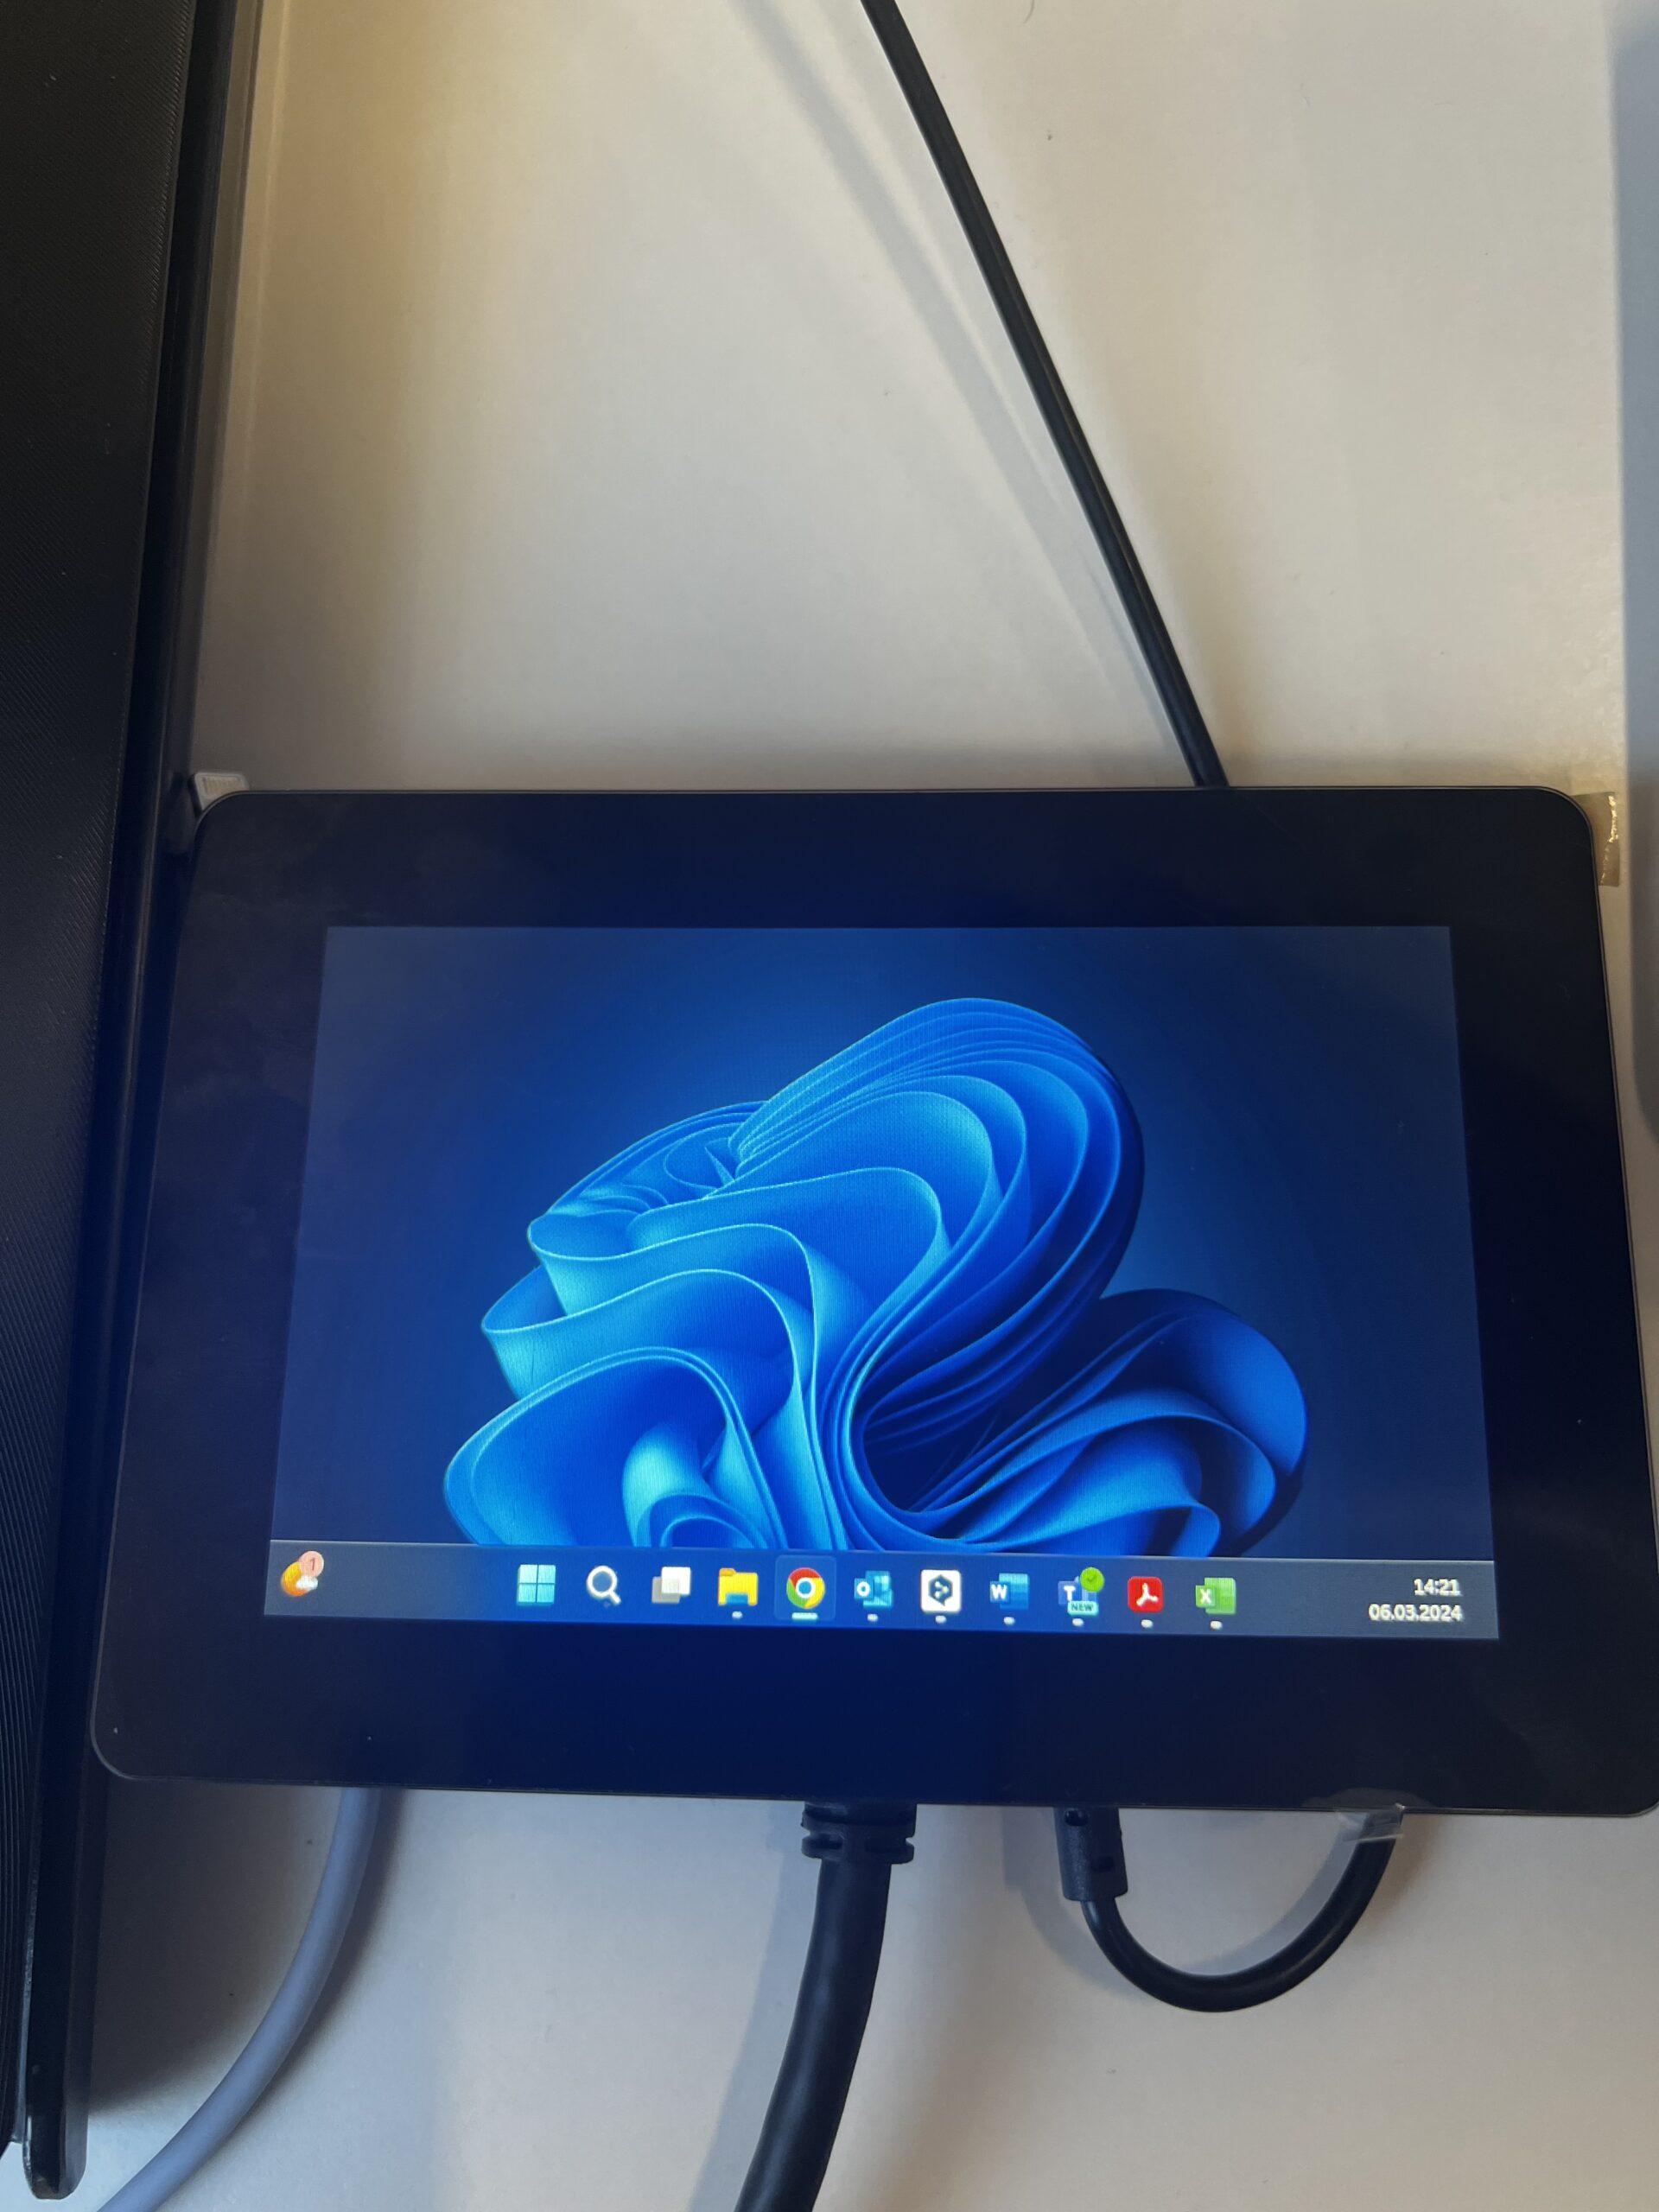
Figure 2. Display with correct resolution.
DISCOVER OUR
Whitepaper
Achieve the perfect user-display interaction with the right Touch Sensor IC. Ever faced issues with phantom touch events or certification? Boost your R&D like a pro with our Whitepaper!
Go to our product catalog and see how you can save by quality, not on quality.