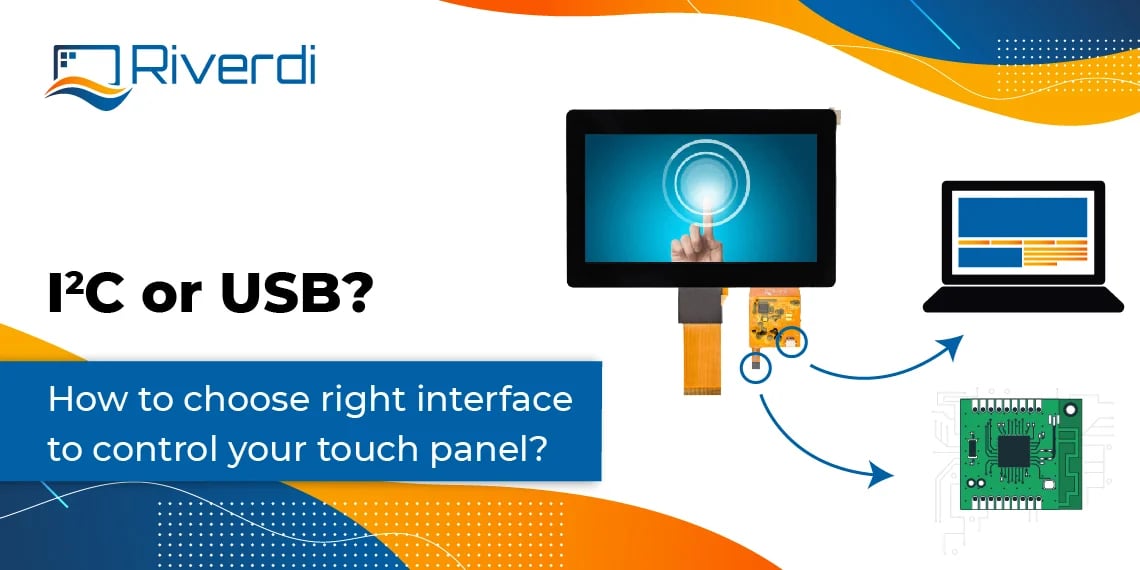
This quick guide describes how to connect Riverdi touch control (PCAPs). As standard we offer USB and I2C interface. Riverdi design allows a fast and easy connection to your PC or MCU. Let’s see how it’s done.
USB & I2C – Riverdi PCAPs standard connectors overview
Riverdi industrial-grade PCAPs offer USB and I2C. You can connect USB directly to any PC with Windows or Linux. All you need to do is take the display from the box, connect using the 4-pin USB connector (sold separately if needed), and you can start testing.
If you prefer to use I2C as your touch control interface, you will need to write your own code to connect with MCU. To help you with that you can use Riverdi GitHub repository or provided product datasheets. Read on about both interfaces and connection methods.

The USB way
The main advantage of USB is a Plug and Play principle. Your OS, such as Windows and Linux, will be equipped with relevant USB drivers to operate the device. When the touch panel is connected via USB cable it will be registered as an Human interface device (HID).
You can choose the ZIF (direct-to-FPC) or USB 4-pin connection.
NOTE: USB signals are available on FFC and JST connector. Both are internally connected, so use only one of them.
On the board there is a USB 4-pin connector.
You can use it as:
- internal LCD board connection, or
- external plug cable connection.
NOTE: The USB plug is a 1,5mm pitch – for more details please refer to specific Riverdi Product Datasheet


The I2C way
This connection is available directly on FPC or through additional 6-pin connector (on 10.1-inch displays).
The I2C is a bit more demanding way to go. But you need it when you connect your touch panel to MCU with no OS.
What you will most probably need is to do some programming. You’d have to code I2C support to enable using device with your controller.
We have prepared a detailed description of how to use our touch panels for Linux and Android-based platforms, as well as for no-OS and RTOS based applications, together with examples. Please check the getting started documents that provide you fast introduction to the usage of the ilitek2xxx device. If you are making your own Linux or Android distribution and want to add drivers manually, please visit the Riverdi GitHub repository to download the source code for “Linux/Android driver”.
In case you need any additional source code documentation for Linux/Android driver, please contact us.
TIP #1: Ilitek datasheets will help you to create your driver.
TIP #2: You can download libraries from Riverdi GitHub repository and use the driver part, like CTP ILItek…demo. This should facilitate your work, when you’ll start coding.
What’s the difference between USB & I2C?
In general, the I2C interface is used more often in embedded applications. It’s because of the MCUs natively support the I2C protocol.
In case you connect to PC with popular OS – you’ll probably go with USB, because there you already have all the necessary drivers.
WARNING #1
The ZIF connection & voltage – do not connect USB 5V and I2C 3,3V at the same time. Treat them as alternatives.
WARNING #2
The ZIF & USB connection – do not connect USB and ZIF in parallel. Choose only one of them.
If you would like to know anything more on how to connect your Riverdi PCAP, please contact us.